Customize Your REDMAGIC Mechanical Keyboard in 3 Easy Steps
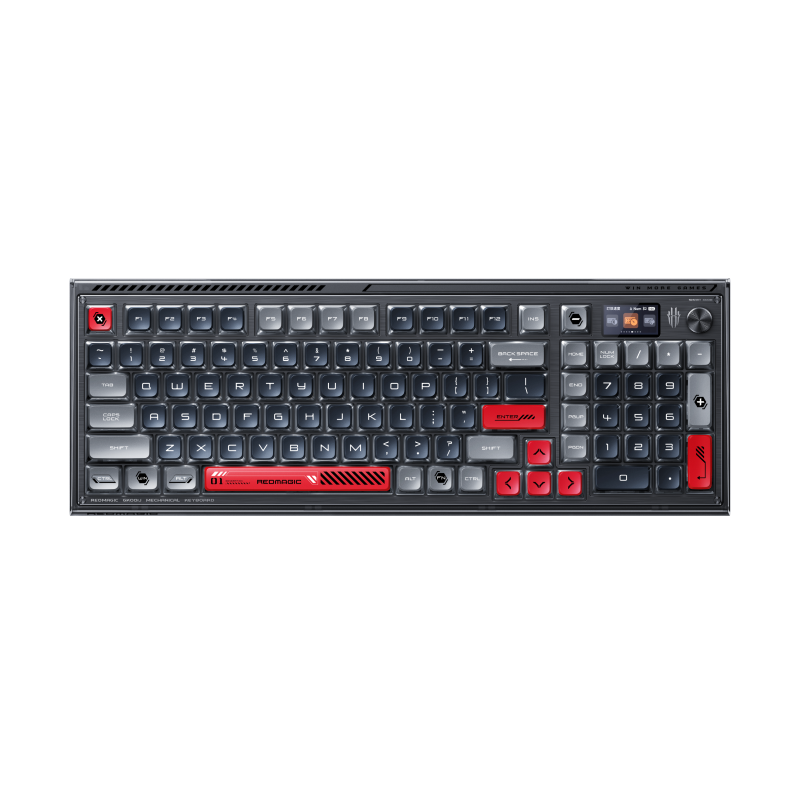
Having a dedicated game station is a flex on its own, but having a collection of custom gaming equipment is one way to upgrade your gaming aesthetic and make your gaming area fit your personality even more. In addition to giving you three different connectivity options, the REDMAGIC Mechanical Keyboard is hot-swappable which means it’s designed to be easy to switch out and replace for a fully customized gaming aesthetic.
Hot-swappable keyboards are among the easiest key caps to change, and they offer a wide variety of key designs and textures to choose from, potentially giving you the ability to have a different keycap for every button (If that’s your swag). If you’re new to keyboard customization and worried about if you’ll get it right, we’ll guide you through the process of changing the keycaps on your REDMAGIC Mechanical Keyboard.
Before you start…
Ensure you have all the correct tools including the keycap removal tool that comes in the box and the replacement caps you’re planning to put in. For the best results, work in a well-lit area so you can see what you’re doing, and make sure the space is clean and free of dust to prevent particles from ending up between the keycap and the switch.
It may also save you time and effort to identify the keys you’re going to switch before you start because while it may not be as bad as a dentist yanking out the wrong tooth, you don’t want to do all the work just to have to redo it.
Step One: Remove the Keycap
Make sure that the keyboard is turned off before you begin the delicate extraction to prevent damage to the keyboard. Using the tool supplied in the box, gently remove the keycap by sliding the tool underneath and pulling it in an upward motion until the keycap pops off.
The tool has a dual function so take care to use the keycap removal side. The other side of the tool can be used to remove the keyboard switches, which can be a bit more challenging, but easy once you get the hang of it.
Step Two: Replace the Keys
Whether you opt to remove all your keys at once before replacing them, or you want to remove and replace the keys one by one is totally up to you. However, it’s worth noting that installing your new keycap doesn’t require the use of a tool. Using your fingers, align the keycap with the switch stem and gently push it down until you hear a soft click. You should never force the keycap into place as this can damage your keyboard. If it doesn’t click into place immediately, check that it’s aligned properly and make the necessary adjustments.
Step Three: Check That Everything Works
After replacing the desired keys, plug in your REDMAGIC Mechanical Keyboard to see if everything is still in working order. This step is even more crucial if you’ve gone the extra mile and swapped out the switches because this is your chance to see if the click is as satisfying as you hoped it would be.
You’re All Done!
Three easy steps and you’re ready to show off your custom REDMAGIC Mechanical Keyboard. Share your achievement with the REDMAGIC community by posting a picture on your Instagram or Twitter and tagging REDMAGIC. Remember to store the keycap removal tool, as well as all the switches you’ve removed safely to use on your next customization.


